This is the landing page of the new Litter section.
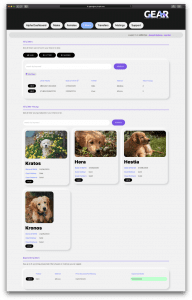
From here you will be able to:
- Add a new Litter.
- Add a new Mating.
- See up to 5 of your upcoming litters.
- View all the litters you’ve added to the new system.
- Search for any litter young that you’ve had.
Adding a New Litter
For the purpose of this blog we will be adding a new litter. When you click on the ‘Add Litter’ button, you are greeted by this form.
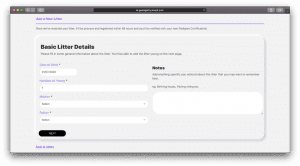
Here will be all the basic details of the litter:
- Date of Birth
- Number of Young
- Mother
- Father
- Notes
With Notes you’ll be able to take down any extra information you’d like to remember for yourself.
When you click ‘Next’ you will begin adding the litter young.
Adding Litter Young
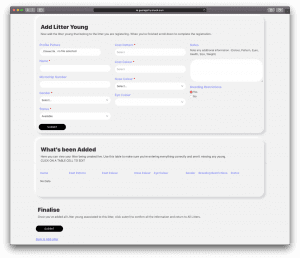
This is the Litter Young form.
Here you will fill in each young’s information, such as:
- Profile Picture
- Name
- Microchip
- Gender
- Status
- Coat Pattern
- Coat Colour
- Nose Colour
- Eye Colour
- Notes
- Breeding Restrictions
One of the new entries, ‘Profile Picture’, is quite important. This will be the photo that displays on the Pet Finder page. So make sure you have some beautiful photos.
Try not to use edited photos.
Young’s Status
The young’s status helps you manage each of them individually. You’ll have options such as:
- Available
- Booked
- Sold
- Swapped
- Passed
- Keep
A young’s status will need to be ‘Available’ and they will need to registered to show up on the Pet Finder.
When you’re done adding the one, you can click on ‘Submit’. This will then bring up the form again so that you can add a second one, and so on. After you submit, the young will show up in the ‘What’s Been Added’ section. In this section you can make quick changes if you see a mistake, just by clicking on the tab with the wrong info.
After adding all the young to the litter you can click ‘Finalise’ and the litter will be added.
Viewing & Registering the Litter
When you go back to the Litter section you will see the litter in the All Litters card, as below:
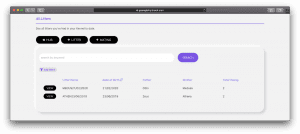
From here you can view the litter.
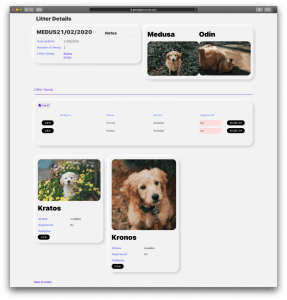
Inside the litter view you will see the young’s parents, as well as all the young in that litter. You will see that next to each young there is a ‘Register’ button and their registration status. When you want a young to be registered you will have to click on ‘Register’.
When you add a new litter they won’t be registered automatically.
Inside the litter view you can view each individual young as well.
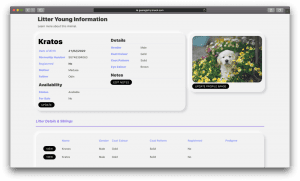
When viewing a litter young all their information will be displayed. From here you can update their status and profile picture, and add any notes. You will also see their litter siblings and some basic details. The siblings can be easily viewed by just clicking on the ‘View’ button.
And that’s the new Litter section.
If you need any other help try looking through the other tutorials or log a support message.
